INKING THE COLLAGRAPH PLATE
& PULLING THE PRINT
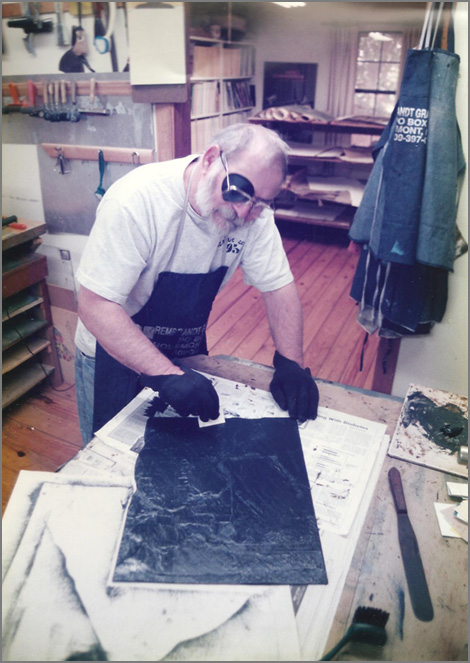
Inking the collagraph plate intaglio
After “building” a plate on a surface such as matboard, the printmaker carefully inks that plate using a stiff tab of matboard. Ink covers the surface and is pushed into the recesses.
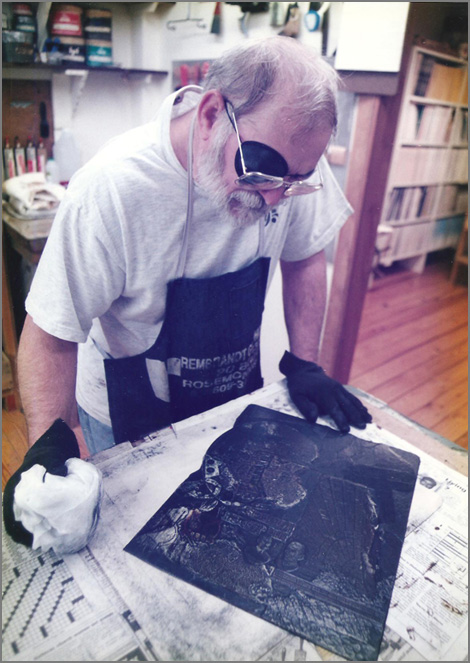
Wiping the surface of the inked plate
Tarleton or stiffened cheesecloth is balled up with crumbled newsprint inside. The surface of the plate is gently stroked using a controlled circular motion to avoid removing too much ink from the concave and convex layers.
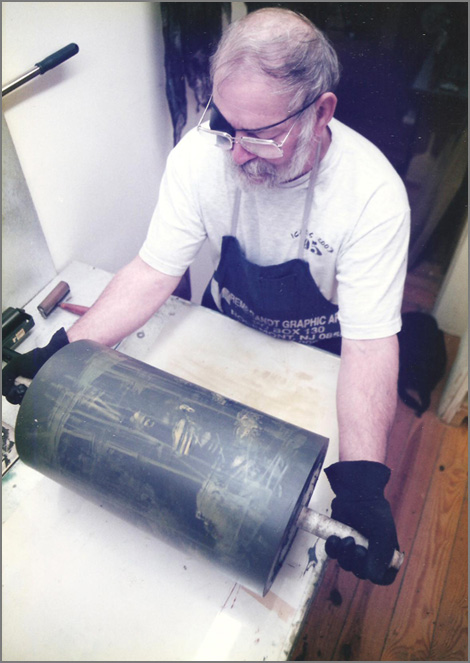
Preparing the brayer for a relief rollover
A strip of a second ink color is applied on a glass surface and worked with a brayer using a forward and up movement until the distribution of ink on the brayer is uniform. The inked brayer is then rolled over the plate to create a variety of color combinations. The artist may adjust the color manually by wiping chosen areas or adding more ink with a small brayer. This process can be repeated using rollers of varying durometers to reach different levels of the plate.
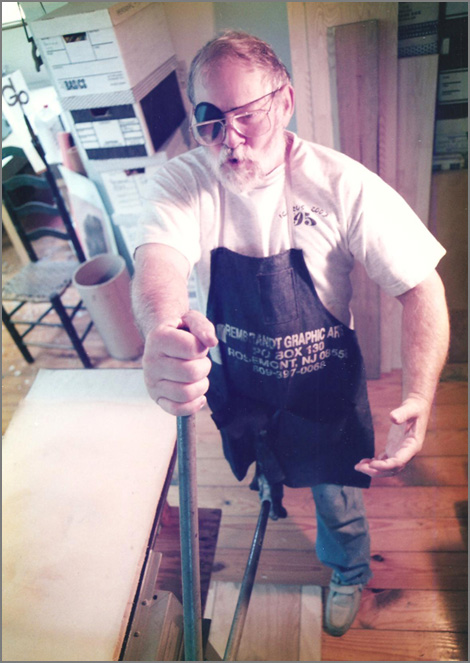
Pulling the print
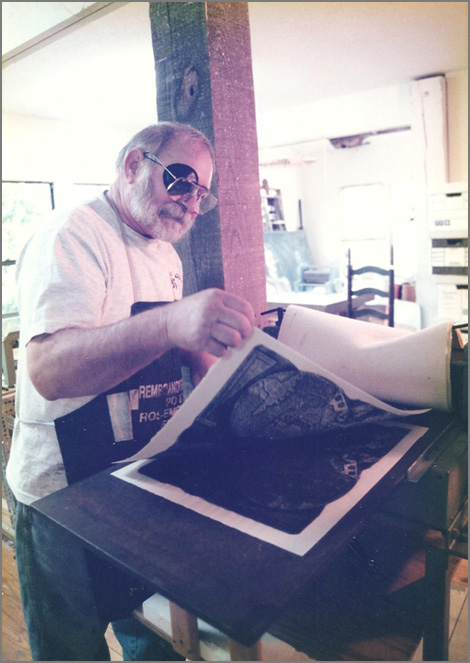
The print paper, which has been soaked to remove sizing and then blotted, is placed on top the plate on the press bed and covered with blankets. It is rolled through the press as the press wheel is manually turned. The image from the inked plate is pressed onto the paper.
Finished print is removed and dried
Lifting the blankets to reveal the finished print is an exciting moment in a long process. The print is removed and hung or placed under glass to dry. If the printmaker is pleased with the result, he can begin the inking process again for another print. If the desired effect has not been achieved, he may use this state print as a guide for further work on the plate or to determine refinements he may want to make in the inking process.

